
5 Easy In-Camera Effects
How to copy oppie

Whenever I’m on set for anything remotely “avant-garde” like a music video or dream sequence the director or AD might say “Hey we got an extra ten minutes, can you throw in something cool?” And of course, ten minutes goes by in a flash on set so whatever you do in this situation it better be quick.
Therefore, here are FIVE easy in-camera effects for when you’re in a pinch:
1. A Fresnel Sheet
I have to give credit where credit is due, DP Olan Collardy shared this tip when attending one of his mentoring sessions via Zoom. Essentially a fresnel sheet is a piece of distorted plastic that enlarges whatever is placed in front of it. It’s typically used to help people with impaired vision read newspapers/fine print.
I especially love this one because of how simple it is. The main drawback is finding focus, typically you need to be fairly close to the subject, it depends on how far or close the fresnel sheet is and how large the sheet is. If you have one like I do (a bit larger than a 4.5x6 filter) you can either place it right on the lens when on a wider focal length and be right up by the subject (which is my favorite way to shoot it) or on a tighter focal length and have the sheet somewhere in between the camera and the subject.
Below is the link to the actual sheet, some BTS, and the results:
2. A Mirror(ed Image)
So I lied. This tip is pretty difficult to pull off in a ‘pinch’. But you can set it up fairly quickly if you plan ahead.
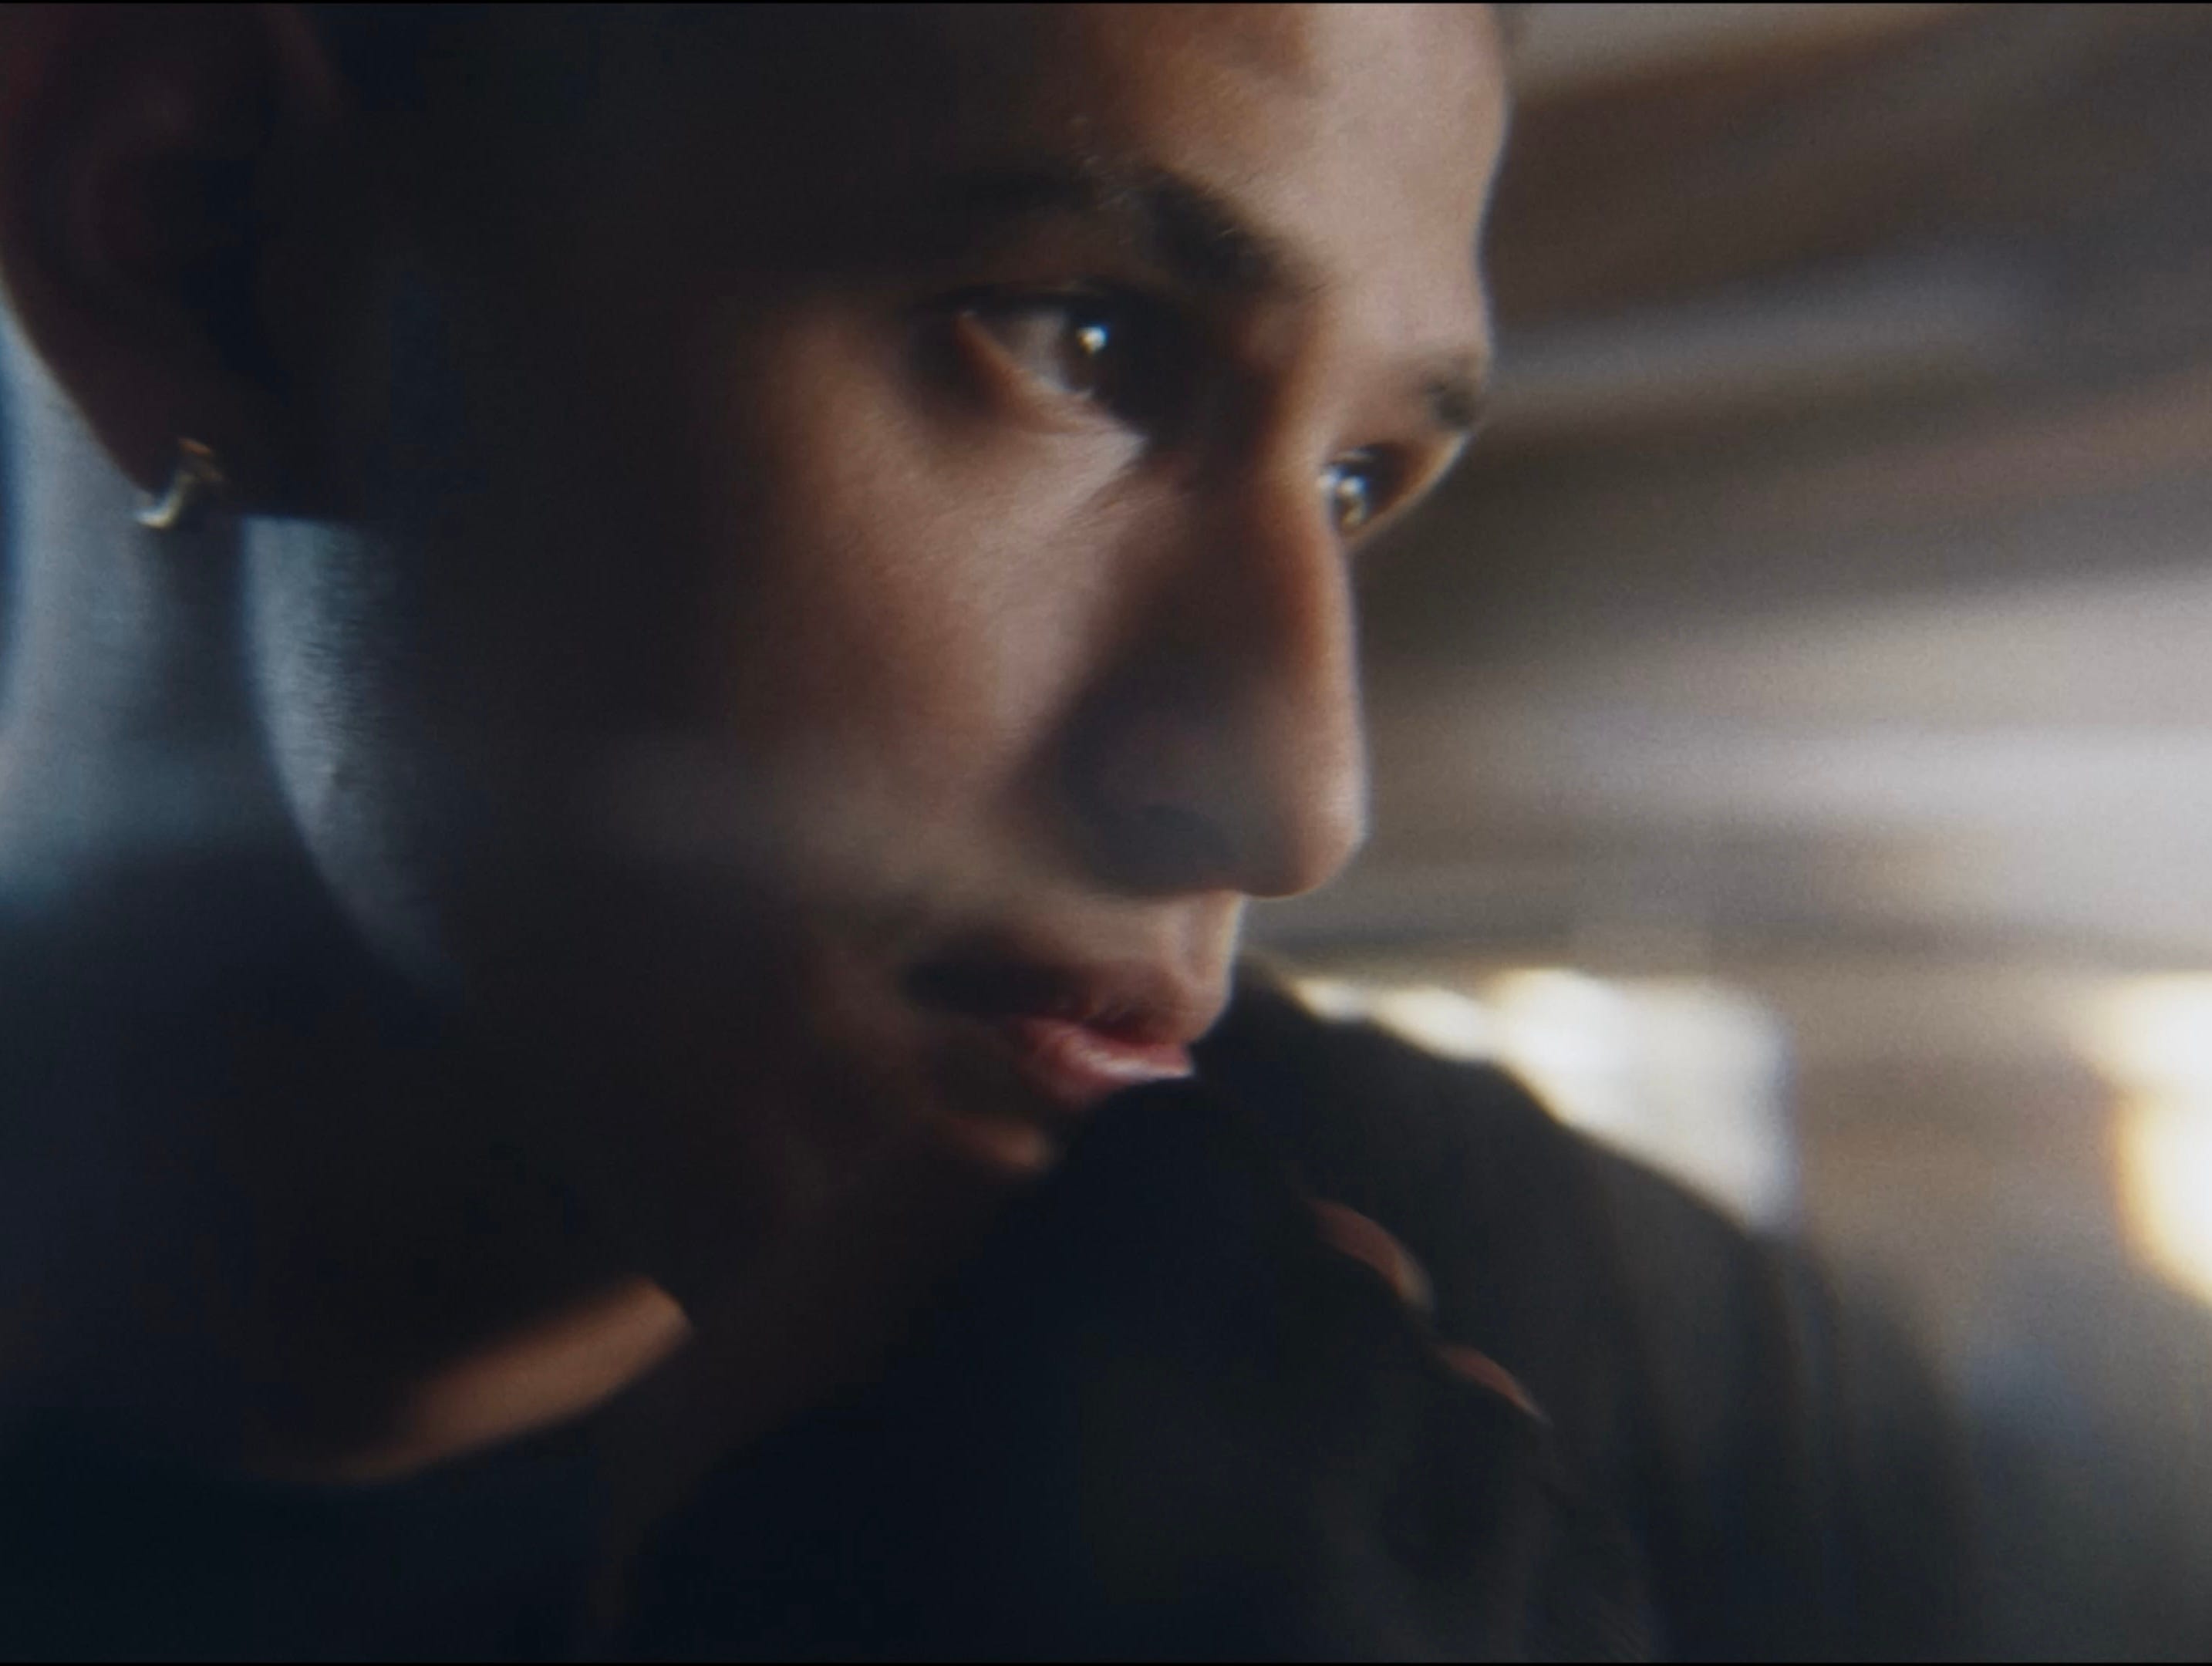
This is a direct inspiration from ‘Oppenheimer’. There are a few moments in the film where the background begins to shake, but Oppie remains still. They pulled this off by projecting a still image of the background with a projector and then shaking said projector. (This would be the quicker and simpler way to go about it, but it will require a high-quality projector.)
I had a much more crude setup, with a lens with a long focal length (135mm) and a mirror. I placed the subject on the opposite side of the set with the mirror behind them reflecting an image of the set. Someone would then shake the mirror to give off the impression the background is moving. Lastly, the image would be flipped in post to make sure everything was on the proper side. You can catch the effect in the spec ad I shot linked below at :17.
3. Lens Whacking
Lens whacking is a fairly simple effect, achieved by unlocking the lens from the mount of the camera and hovering it just over the sensor with your hand. It can be a little bit trickier with heavier lenses but still a simple and worthwhile trick if you have an extra pair of hands and only a few minutes left on set. Very good for grabbing lens flaring.
Can also find this at :16 in the same spec ad from above.
4. Flip Lens
Flipping the lens can also create some interesting effects and lens flares, essentially making any lens somewhat of a macro lens, it reminds me a bit of the look a Lensbaby will create.
5. Anything Glass
Lastly, glass. Not the lenses but just any old piece of glass. You don’t need to buy something off of Prism FX or any expensive third party. All you need is just any piece of glass that either slightly or extremely distorts light. You can achieve this by breaking a glass object and using a shard or by just going to any garage sale and picking up a piece of glass that looks interesting. It’s best to find something that has ridges/ornate details that will create an interesting flare/effect when paired with a lens.
I recently found a setup on cinematography.com that showcases just that, note the broken shard of glass on the left.
There you have it. 5 simple (and somewhat quick) in-camera effects that you can achieve on a budget and with little to no extra help!